
How to Install Solar Lights for Safety and Longevity
Solar lights seem like a plug-and-play solution for brightening your yard or walkway, but proper solar light installation is more than just sticking them in the ground. Get it wrong, and you could deal with dim lights, short battery life, or even safety hazards. Avoiding common installation mistakes can make all the difference in how long your lights last and how well they perform. Let’s walk through the key steps to ensure your solar lights are secure, efficient, and safe.
Securing Solar Lights Against Weather
Securing solar lights against wind and rain is crucial, especially if you live in an area with storms or strong winds. A loose light can topple over, break, or stop working. Here’s how to keep them steady:
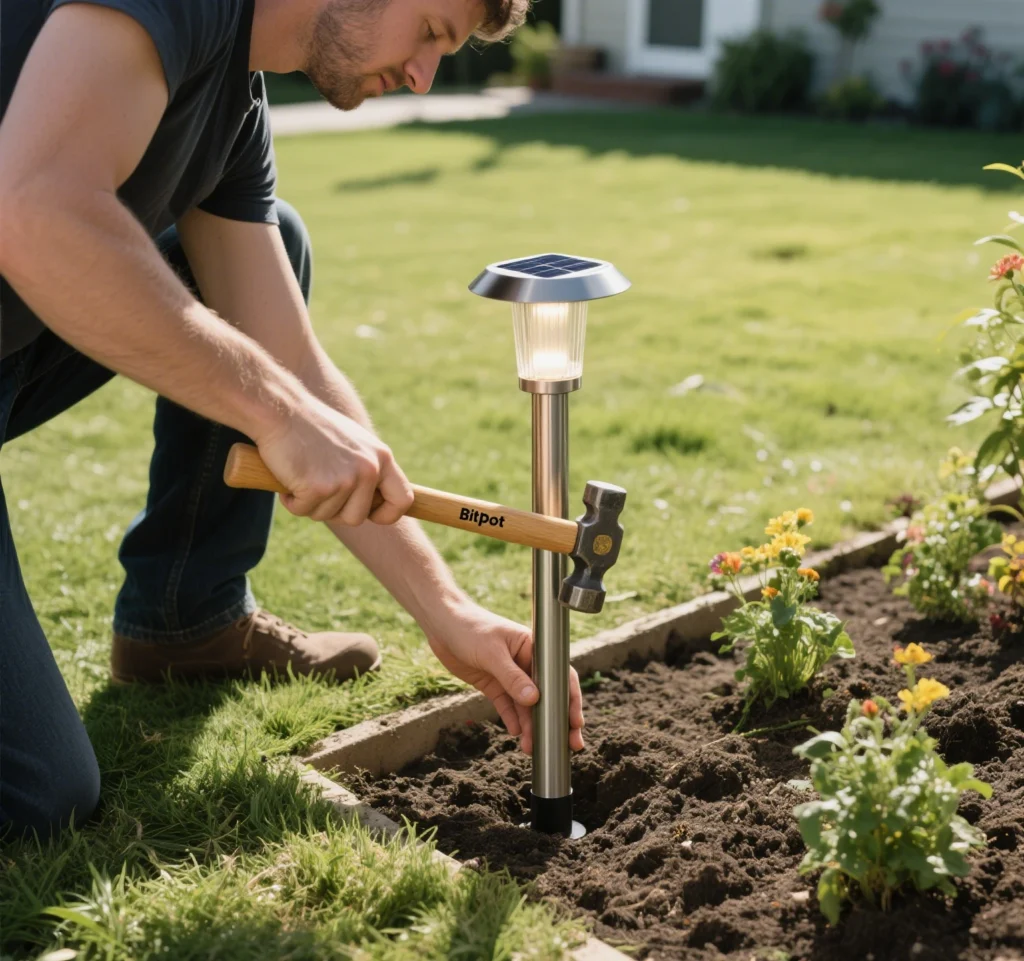
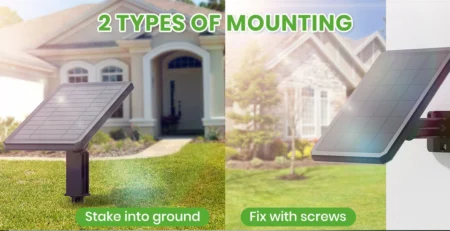
- Choose the Right Mount: For ground-mounted lights, use sturdy stakes and push them deep into firm soil. For wall or pole lights, use heavy-duty screws or brackets designed for outdoor use.
- Check Stability: After installation, give the light a gentle shake to ensure it’s secure. If it wobbles, reinforce with additional anchors or stakes.
- Consider Weather Patterns: In windy areas, opt for low-profile or heavier lights to reduce the chance of tipping. For heavy rain, ensure the light’s base allows water to drain.
- Use Weather-Resistant Materials: Look for lights with corrosion-resistant coatings or stainless steel hardware to withstand harsh weather.
By focusing on securing solar lights against wind and rain, you’ll prevent damage and keep your lights shining through any storm.
Waterproofing for Batteries and Circuits
Waterproofing solar light batteries and circuits is non-negotiable. Water sneaking into the battery or wiring can cause corrosion, short circuits, or complete failure. Here’s what to check:
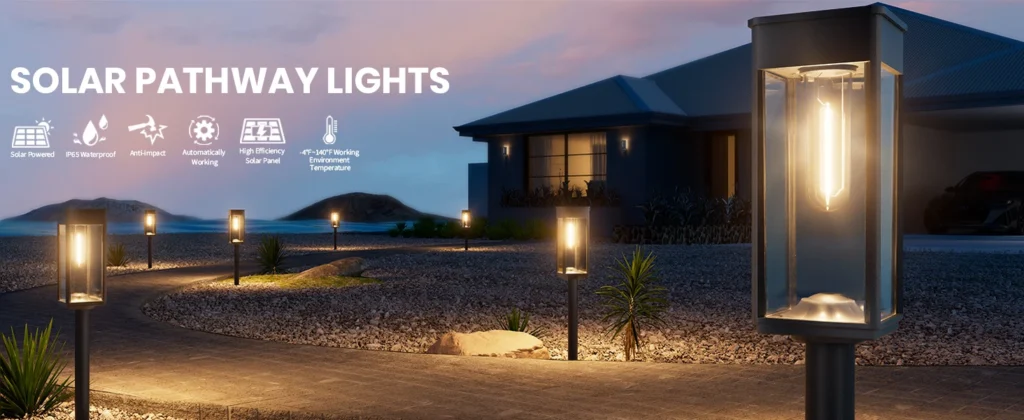
- Look for IP Ratings: Choose lights with an IP65 rating or higher, which means they’re protected against dust and water jets. IP67 or IP68 is even better for heavy rain or submersion.
- Inspect Seals: Before installing, check that the battery compartment and any wiring covers have tight, intact seals or gaskets.
- Avoid Low Spots: Don’t place lights in areas where water pools, as even waterproof lights can fail if submerged for too long.
- Regular Maintenance: After heavy rain, check for water ingress. If you spot any, dry the compartment and consider adding silicone sealant for extra protection.
Proper waterproofing solar light batteries and circuits keeps your lights functional and safe, even in wet conditions.
Avoiding Shaded Spots for Better Charging
Optimal solar panel placement is critical to ensure your lights charge efficiently. A solar light stuck in a shady spot won’t get enough sunlight, leading to dim or dead lights. Here’s how to avoid this:
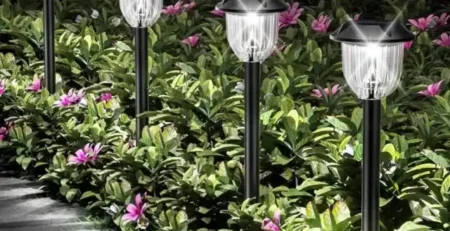
- Pick Sunny Locations: Place lights where they get at least 6-8 hours of direct sunlight daily. South-facing spots are usually best in the Northern Hemisphere.
- Avoid Obstructions: Keep lights clear of trees, buildings, or overhangs that cast shadows, especially in winter when the sun is lower.
- Adjust for Seasons: If possible, use lights with adjustable panels so you can tilt them to catch more sunlight as the sun’s angle changes.
- Test Before Fixing: Set up the light temporarily and check its performance over a day or two to confirm it’s getting enough sun.
By prioritizing optimal solar panel placement, you’ll maximize charging and keep your lights bright all night.
Matching Installation Height to Lighting Range
Matching installation height to lighting range ensures your solar lights cover the area you want without wasting energy or leaving dark spots. Here’s how to get it right:
- Check Manufacturer Specs: Most solar lights list their lighting range (e.g., 10-20 feet). Use this to decide how high or low to install them.
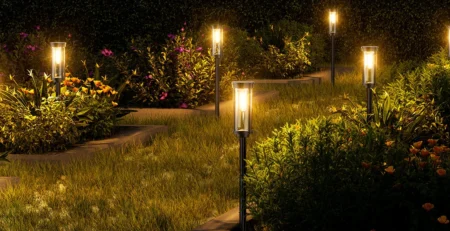
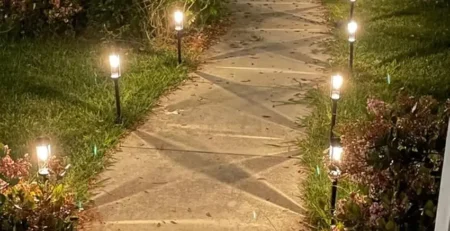
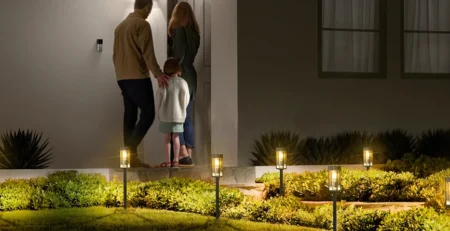
- Pathway Lights: Install low (1-2 feet) for focused ground lighting, like along walkways. Higher placement (3-5 feet) can spread light too thin.
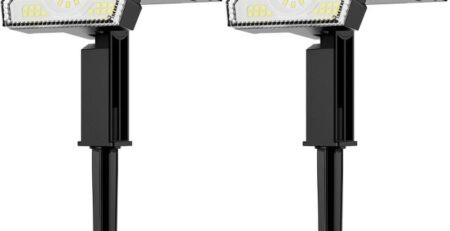
- Security or Flood Lights: Mount higher (6-10 feet) on walls or poles to cover larger areas, like driveways or yards.
- Test Coverage: After installation, turn the lights on at night to confirm they illuminate the intended area without gaps.
Getting matching installation height to lighting range right means better illumination and fewer lights needed, saving you money.
Tools and Tips for Easy Installation
Setting up solar lights doesn’t require a toolbox full of gear, but a few basics make the job easier. Here’s what you need and some tips to streamline the process:
- Basic Tools: A screwdriver (for wall-mounted lights), a shovel or trowel (for ground stakes), and a level to ensure straight installation.
- Plan Ahead: Map out where each light will go before starting. Mark spots with chalk or stakes to visualize coverage.
- Check Battery First: Before installing, ensure the battery is charged or pre-installed correctly to avoid troubleshooting later.
- Secure Wiring (if any): For lights with external solar panels, tuck wires neatly to avoid tripping hazards or damage.
These steps make proper solar light installation smoother and help you avoid common headaches.
Common Installation Mistakes to Avoid
Even with the best intentions, it’s easy to mess up solar light installation. Here are some pitfalls to steer clear of:
- Ignoring Ground Type: Soft or sandy soil won’t hold stakes well. Use concrete or anchors for stability in loose ground.
- Overlooking Nighttime Needs: Don’t just test lights during the day. Check at night to ensure they light up the right areas.
- Skipping Weatherproofing: Failing to check seals or IP ratings can lead to water damage. Always double-check waterproofing solar light batteries and circuits.
- Crowding Lights: Placing lights too close together wastes energy and creates uneven lighting. Space them according to their range.
Avoiding common installation mistakes saves time and ensures your lights work as intended.
Why Proper Installation Pays Off
Taking the time to install solar lights correctly has big benefits. Not only do you get better performance, but you also extend the lifespan of your lights. Securing solar lights against wind and rain keeps them from breaking in storms. Optimal solar panel placement ensures they charge fully, even on cloudy days. And matching installation height to lighting range means you get the right amount of light where you need it. Plus, proper setup reduces maintenance and safety risks, like exposed wires or loose fixtures.
Conclusion: Install Smart for Lasting Light
Proper solar light installation isn’t just about sticking a light in the ground—it’s about setting it up to last. By securing solar lights against wind and rain, ensuring waterproofing solar light batteries and circuits, choosing optimal solar panel placement, and matching installation height to lighting range, you’ll get reliable, safe lighting for years. Take a little extra time to avoid common installation mistakes, and your solar lights will keep your outdoor spaces bright and worry-free, no matter the season.


Leave a Reply