Terrain-Adaptive Solar Lightin in Your Gardens
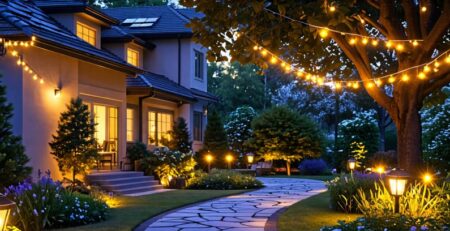
In North American gardens, where rolling hills, shaded groves, and glistening water features define the landscape, terrain shapes the story of light. Uphill slopes, courtyard edges, water features, and shade zones each present unique challenges for Solar garden lights, demanding careful placement to ensure consistent illuminance. A poorly lit uphill path risks stumbles, while a waterlogged solar panel near a pond dims prematurely. Weather, too, plays a role—winter’s short days and heavy cloud cover can sap energy efficiency. This article outlines terrain-adaptive lighting strategies, grounded in optics and topography, to create safe, vibrant nightscapes across diverse North American yards. From contour layouts to weatherproof materials, we provide actionable steps to harness Solar pathway lights, solar wall lights, and solar floodlights for maximum impact.
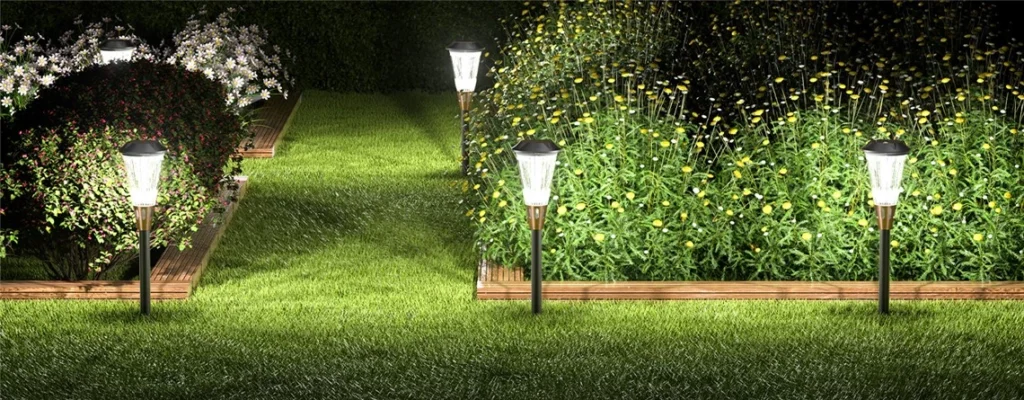
The Impact of Terrain on Solar Lighting
Terrain governs how light behaves in a garden. An uphill slope, prone to water runoff, can destabilize Solar pathway lights if poorly anchored. Shade zones under dense trees block sun exposure, starving solar panels of charge. Courtyard edges, often exposed, demand fixtures that define boundaries without overpowering the space. Water features, meanwhile, amplify reflection but risk corrosion if materials aren’t weatherproof. These challenges underscore the need for terrain-adaptive lighting, where lamp placement aligns with topography to ensure nighttime safety and aesthetic harmony.
Consider a sloped backyard in a Seattle suburb. Rain pools at the base, while tree cover limits sun angle exposure. Without strategic placement, Solar garden lights may fail to charge, leaving paths dim and unsafe. By tailoring layouts to terrain—using contour layouts for slopes, shade rules for tree-heavy areas, and focal points for water features—homeowners can achieve consistent illuminance, even in tough conditions.
Lamp Selection and Functional Roles
Different garden zones call for specialized fixtures, each with a distinct role in enhancing safety and beauty. Here’s how Solar pathway lights, Solar garden lights, and solar wall lights work together:
- Solar Pathway Lights for Uphill Paths
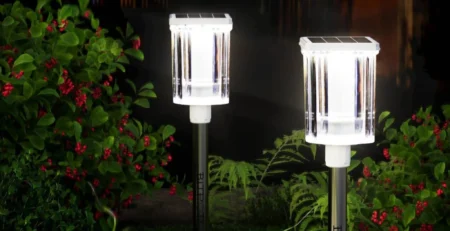
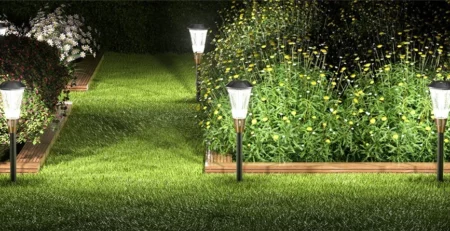
Uphill terrain demands robust nighttime safety. Solar pathway lights, typically 30-60 cm tall, guide footsteps along sloped walkways. For stability, anchor them into firm soil, spacing them every 5 meters. Adjust height incrementally (e.g., add 10 cm per 1-meter rise in slope) to maintain even illuminance. Opt for models with high-lumen LEDs (100-200 lumens) to cut through shadows cast by uneven terrain. - Solar Wall Lights for Courtyard Edges
Courtyard edges need boundary definition. Solar wall lights, mounted on fences or low retaining walls, cast a broad, downward glow to outline perimeters. Choose fixtures with adjustable angles to focus light on walkways or seating areas, avoiding glare. For a 10-meter edge, install one 300-lumen wall light every 3 meters to ensure consistent coverage without over-illumination. - Solar Garden Lights for Water Features
Water features thrive on reflection, amplifying light’s aesthetic impact. Solar garden lights, placed 1-2 meters from a pond’s edge, create a shimmering effect. Use low-profile stakes (20-30 cm) with warm-toned LEDs (2700K) to enhance water’s sparkle. Position panels away from splash zones to prevent corrosion, ensuring materials like stainless steel meet IP65 weatherproof standards. - Solar Floodlights for Visual Focal Points
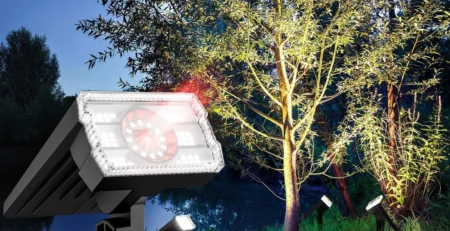
To highlight a tree, statue, or waterfall, solar floodlights deliver intense, focused beams (500-1000 lumens). Place them 2-3 meters from the target, angled upward to create dramatic shadows. In shade-heavy areas, ensure panels are mounted in partial sun zones to maximize charging.
Weather Factors and Light Intensity Management
North America’s varied climates—blistering Arizona summers, snowy Vermont winters, or overcast Pacific Northwest springs—impact solar lighting performance. Key factors include season, cloud cover, and sun exposure, each affecting energy efficiency and illuminance.
- Seasonal Shifts
In winter, shorter days reduce sun exposure, cutting charging time. For example, in Chicago, December’s 9-hour daylight versus June’s 15 hours demands high-efficiency solar panels (e.g., monocrystalline, with 20%+ conversion rates). A simple rule: for every 10° drop in sun angle, charging efficiency falls ~8%. Choose lamps with dusk-to-dawn sensors to ration light output, preserving battery life. - Cloud Cover
Heavy clouds can reduce solar input by 50-70%. In regions like Portland, where overcast days are common, select fixtures with oversized panels or backup batteries. Program smart sensors to dim lights (e.g., 50% brightness on cloudy nights) to maintain illuminance over longer periods. - Sun Exposure
Terrain dictates sun exposure. A shade zone under dense oaks may receive only 2-3 hours of direct sunlight, versus 6-8 hours on an open slope. Position solar panels in partial shade areas, elevated 30 cm above shrubs to avoid obstruction. A formula to estimate output: Daily charge (Wh) = Panel wattage × Sun hours × 0.85 (accounting for inefficiencies).
Smart controls enhance adaptability. Motion sensors activate lights only when needed, saving energy. Timers adjust brightness based on time of night, while apps allow remote tweaks for seasonal changes, ensuring consistent nighttime safety.
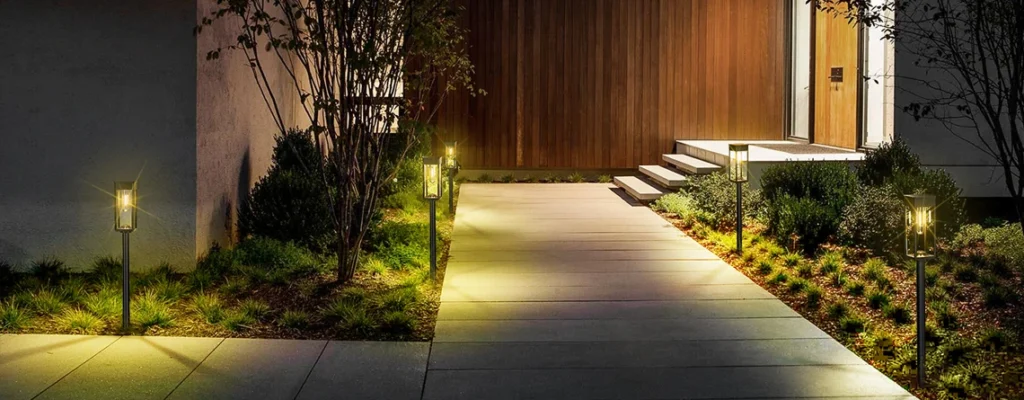
Terrain-Specific Layout Strategies
Effective lighting aligns with the garden’s contours. Below are tailored strategies for key terrain types:
- Contour Layout for Uphill Slopes
On slopes, arrange Solar pathway lights along elevation contours, mimicking topographic lines. For a 10° incline, place lights every 5 meters, raising each stake 10 cm higher than the last to maintain a level light plane. Use deep anchors (15-20 cm) to resist runoff erosion. This ensures even illuminance, preventing dark spots on steep paths. - Shade Rules for Tree-Heavy Zones
Shade zones challenge solar charging. Install Solar garden lights in partial shade areas, ensuring panels receive 4+ hours of sun. Elevate panels 30 cm above foliage to avoid leaf cover. For dense canopies, use remote solar panels connected by weatherproof cables, placed in sunnier spots 5-10 meters away. - Visual Focal Points for Water Features
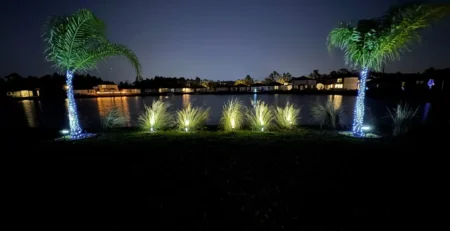
Water features demand focal lighting. Position solar floodlights 2 meters from a pond or fountain, angled at 30° to maximize reflection. Use warm-toned LEDs to enhance water’s glow, creating a layered shadow effect. Ensure panels are placed on dry, elevated ground to avoid water damage. - Courtyard Edge Definition
For edges, mount solar wall lights every 3-4 meters at 1.5-meter height. Angle beams downward to illuminate walkways or seating areas, avoiding light spill into neighbors’ yards. Use frosted lenses to soften glare, enhancing aesthetic appeal while maintaining nighttime safety.
Maintenance and Durability
Solar lighting’s longevity hinges on material choice and upkeep, especially in harsh North American climates.
- Materials
Near water features, use corrosion-resistant materials like stainless steel or aluminum with IP65+ ratings to withstand humidity. For upland areas, UV-resistant plastics prevent fading. Ensure all fixtures have sealed battery compartments to protect against rain or snow. - IP Rating
North American gardens face rain, snow, and dust. Choose fixtures with IP65 or higher ratings for weatherproof durability. IP65 ensures protection against jets of water, ideal for exposed courtyard edges or water-adjacent zones. - Cleaning and Upkeep
Dust, leaves, or snow on solar panels can cut efficiency by 20-30%. Clean panels monthly with a soft cloth and water, avoiding abrasive materials. Check battery compartments quarterly for corrosion, replacing batteries every 2-3 years to maintain illuminance.
Case Studies: Transforming North American Gardens
Case 1: Rural Vermont Yard with Slope and Pond
Before: A sloped backyard with a small pond had scattered Solar garden lights, poorly placed under trees, resulting in dim patches and unsafe paths.
After: A contour layout added Solar pathway lights every 5 meters along the slope, with heights adjusted for even illuminance. Solar floodlights near the pond, with panels on elevated stands, created a reflective focal point. Dusk-to-dawn sensors adapted to winter’s short days, ensuring energy efficiency. Result: Full coverage, safe navigation, and a glowing water feature.
Case 2: Suburban California Shaded Garden
Before: A tree-heavy yard had uneven lighting, with Solar pathway lights blocked by foliage, leaving dark corners.
After: Remote solar panels were installed in a sunny clearing, powering lights in shade zones. Solar wall lights defined the courtyard edge, while low-profile Solar garden lights highlighted a central oak. Motion sensors reduced energy use, maintaining illuminance despite heavy shade. Result: A cohesive, safe nightscape with no dead zones.
Conclusion
Terrain-adaptive solar lighting transforms North American gardens into safe, stunning nightscapes. By aligning Solar pathway lights, Solar garden lights, and solar wall lights with uphill slopes, courtyard edges, water features, and shade zones, homeowners can achieve consistent illuminance. Weather challenges—seasonal shifts, cloud cover, and limited sun exposure—are met with smart controls and high-efficiency panels. Durable, weatherproof materials and regular maintenance ensure longevity. Through contour layouts, shade rules, and focal points, light becomes a partner to terrain, enhancing nighttime safety and beauty across diverse landscapes.

Leave a Reply