
Where is The Light Sensor On a Solar Garden Light
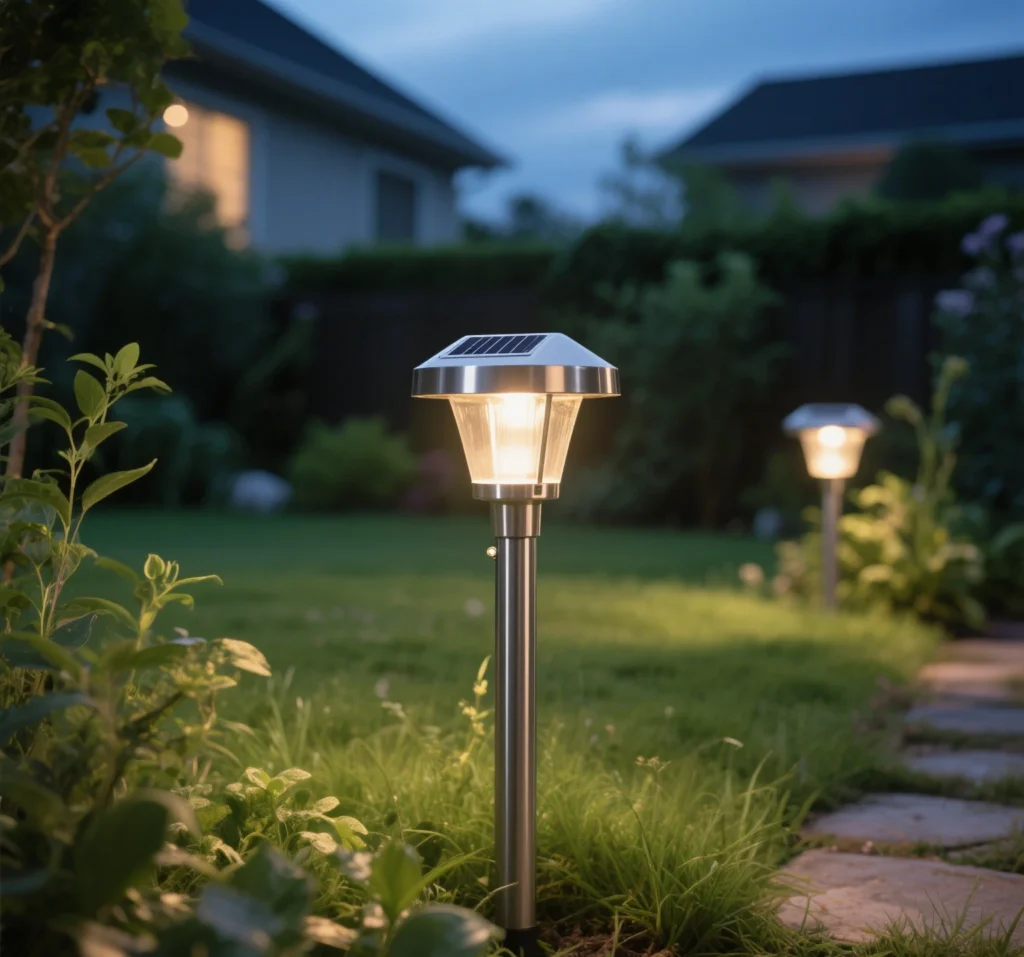
Solar garden lights are a sustainable, cost-effective way to illuminate pathways, flowerbeds, and patios, enhancing outdoor spaces without relying on grid electricity. These eco-friendly fixtures, powered by solar energy, are prized for their ease of installation and low maintenance. However, when solar garden lights stop working, it can be frustrating for homeowners aiming to maintain a beautifully lit garden. Common issues like dimming, flickering, or complete failure often stem from problems with the solar panel, battery, or environmental factors. This article provides a practical, step-by-step guide to troubleshoot and fix solar garden lights, focusing on their components and offering unique insights to restore functionality. Drawing from user experiences and technical expertise, we’ll help you revive your lights and keep them shining brightly.
Understanding Solar Garden Lights
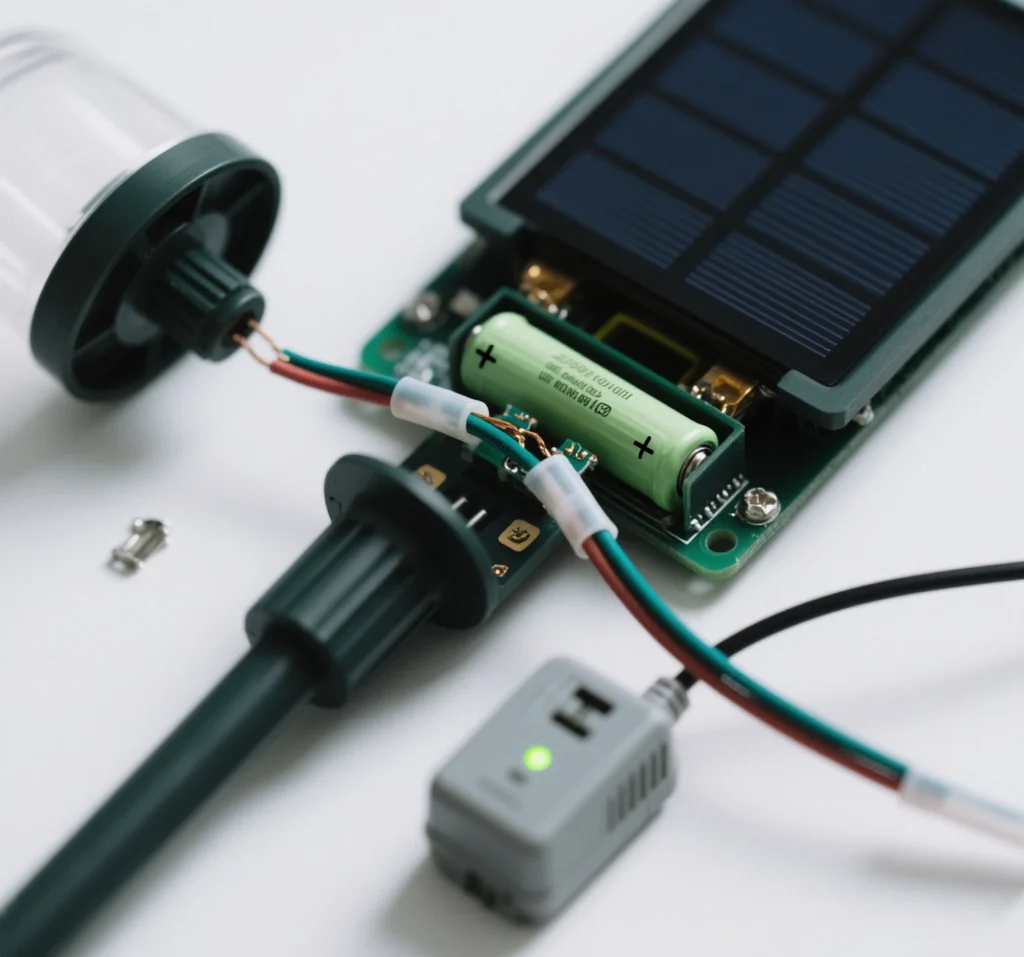
Solar garden lights convert sunlight into electricity using photovoltaic panels, storing energy in rechargeable batteries to power LED bulbs at night. Key components include:
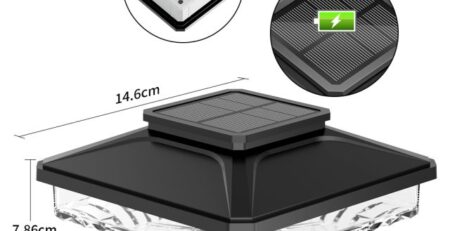
- Solar Panel: Typically monocrystalline or polycrystalline, captures sunlight to charge the battery. Efficiency varies by panel type, with monocrystalline offering better performance in low light.
- Rechargeable Battery: NiMH (Nickel-Metal Hydride) or Li-ion (Lithium-ion) batteries store energy. NiMH is common in budget models, while Li-ion is more durable.
- LED Bulb: Provides energy-efficient lighting, available in warm-white (2700–3000K) or cool-white (5000–6500K).
- Photosensor: Automatically activates the light at dusk and deactivates it at dawn.
- Housing: Made of plastic, stainless steel, or glass, with IP ratings (e.g., IP65) indicating resistance to water and dust.
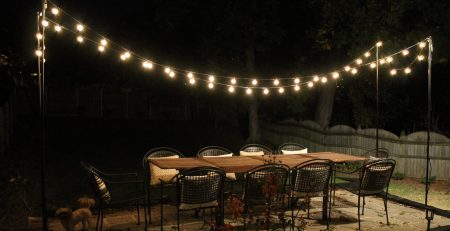
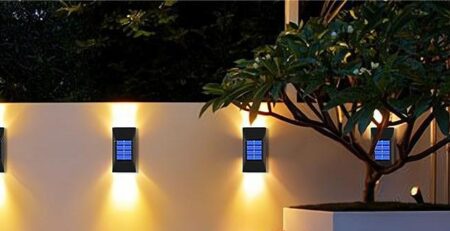
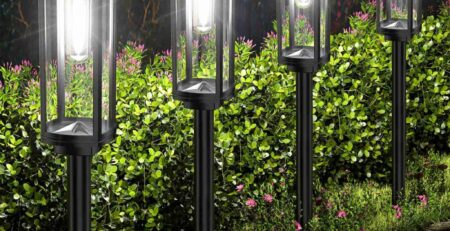
These lights come in various forms—stake lights, string lights, lanterns, and floodlights—with brightness ranging from 10 to 200 lumens. Understanding these components is crucial for effective solar light troubleshooting.
Common Reasons Solar Garden Lights Fail
When solar garden lights stop working, the issue often lies with one or more components. Based on user reports from platforms like Bitpott and web searches, here are the primary causes:
- Battery Degradation: NiMH batteries last 1–2 years, while Li-ion lasts 2–3 years. Cold or heat can accelerate failure, causing dim solar lights or no illumination.
- Dirty Solar Panels: Dust, leaves, or snow block sunlight, preventing charging and leading to solar light not working.
- Faulty Photosensor: A malfunctioning sensor may keep lights on during the day, draining the battery, or prevent them from turning on at night.
- LED or Wiring Issues: Though rare, burnt-out LEDs or corroded wires can cause failure, often due to moisture in low-IP-rated lights.
- Environmental Factors: Shading, extreme weather, or physical damage (e.g., from lawnmowers) can disrupt solar garden light repair efforts.
Step-by-Step Troubleshooting Guide
Follow this structured approach to diagnose and fix solar garden lights, ensuring each step is thorough yet practical.
Step 1: Confirm the Issue
Start by verifying the light’s behavior:
- Check the Switch: Many lights have an on/off switch. Ensure it’s on, as accidental toggling is a common oversight.
- Test in Darkness: Cover the photosensor or place the light in a dark room. If it doesn’t illuminate, proceed to further checks. Flickering or dim solar lights suggest battery or charging issues.
- Note Symptoms: A completely off light may indicate a dead battery or wiring issue, while dimming points to insufficient charging.
Step 2: Clean the Solar Panel
Dirty panels are a leading cause of solar light not working, as confirmed by gardening forums and Bitpott posts.
- Clean Thoroughly: Use a damp microfiber cloth with mild soap to remove dirt, dust, or debris. Avoid abrasive materials to prevent scratches that reduce solar panel efficiency.
- Inspect for Damage: Look for cracks or discoloration. A damaged panel may require replacement, though budget lights are often cheaper to replace entirely.
- Test After Cleaning: Place the light in direct sunlight for 8–12 hours, ensuring no shade from trees or structures. Check if it lights up at night.
Step 3: Check and Replace the Battery
Battery failure is the most frequent issue, especially in older lights.
- Access the Battery: Open the compartment (usually secured by a screw or clip). Note the battery type (e.g., AA NiMH, 1.2V; or 18500 Li-ion, 3.7V).
- Inspect for Damage: Look for corrosion or leakage. Clean corroded contacts with a vinegar-soaked cloth or fine sandpaper, then dry thoroughly.
- Test the Battery: Use a multimeter to check voltage (NiMH: ~1.2V; Li-ion: ~3.7V when charged). If low, replace with a compatible battery. For example, a 1.2V 800mAh NiMH for budget lights or a 3.7V Li-ion for premium models.
- Charge and Test: Install the new battery and charge in sunlight for 8–12 hours. Test at dusk to confirm functionality. Recycling old batteries at a local facility is recommended.
Step 4: Test the Photosensor
A faulty photosensor can disrupt automatic operation.
- Check Functionality: Cover the sensor with opaque tape in a dark environment; the light should turn on. Shine a flashlight on it; the light should turn off.
- Clean the Sensor: Wipe with a damp cloth to remove dirt affecting sensitivity.
- Address External Light: Nearby streetlights or porch lights can trick the sensor into thinking it’s daytime, causing solar light not turning on. Relocate to a darker area.
- Replacement: Photosensors are rarely replaceable in budget lights. If faulty, consider replacing the unit.
Step 5: Inspect the LED and Wiring
If the panel and battery are functional, check the LED and connections.
- Test the LED: LEDs rarely fail (lasting up to 50,000 hours), but water damage or manufacturing defects can occur. If replaceable, swap with a compatible LED (matching voltage/wattage).
- Check Wiring: Inspect for loose, frayed, or corroded wires in the battery compartment or panel connections. Clean corrosion with a brush or re-solder if skilled. Moisture damage in low-IP-rated lights (e.g., IP44) often requires replacement.
- Seal for Protection: Apply waterproof silicone to seals if minor leaks are detected, improving weatherproof solar lights.
Step 6: Address Environmental Factors
External conditions can cause persistent issues.
- Ensure Sunlight Exposure: Verify 6–8 hours of direct sunlight daily. Reposition lights away from shade caused by plants, buildings, or seasonal changes.
- Check for Weather Damage: Inspect for cracks or moisture in low-IP-rated lights. Upgrade to IP65 or IP67 models for better weatherproof solar lights.
- Physical Damage: Look for broken stakes or lenses from impacts. Replace damaged parts or the entire unit for budget models.
Step 7: Final Testing
After addressing issues:
- Full Charge: Place the light in sunlight for 8–12 hours with a new or tested battery.
- Night Test: Confirm the light turns on, stays bright, and operates for 6–12 hours.
- Iterate if Needed: If the light still fails, revisit steps or consider replacement, especially for low-cost models.
Product-Specific Considerations
Different solar garden lights have unique vulnerabilities:
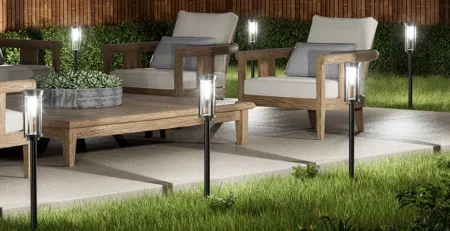
- Stake Lights (e.g., GIGALUMI): Prone to dirty panels or broken stakes. Clean regularly and secure stakes firmly.
- String Lights (e.g., Brightech Ambience Pro): Wires may tangle or corrode. Inspect connections and coil carefully during storage.
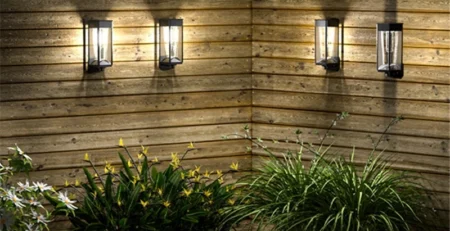
- Wall-Mounted Lights (e.g., LITOM): Susceptible to moisture if seals fail. Ensure IP65+ ratings and check seals annually.
- Lanterns (e.g., TomCare): Glass components may crack in cold. Store indoors in harsh winters or choose durable materials.
Preventive Maintenance for Longevity
To avoid future failures and enhance solar garden light repair:
- Regular Cleaning: Wipe panels monthly to maintain solar panel efficiency. Use mild soap and a soft cloth.
- Battery Care: Replace NiMH batteries every 1–2 years, Li-ion every 2–3 years. Store at 50–70% charge in winter to prevent degradation.
- Weather Protection: Use weatherproof solar lights (IP65 or higher). In harsh winters, store budget lights indoors or cover with weatherproof materials.
- Optimal Placement: Position lights for maximum sunlight into electricity, avoiding shade. Secure stakes to prevent wind damage.
- Annual Checks: Inspect wiring, seals, and housings for wear. Re-seal or replace components as needed.
When to Replace Instead of Repair
Repairing is often cost-effective, but replacement may be better in some cases:
- Budget Lights ($5–$15): Cheaper to replace if panels or LEDs fail, as parts are rarely modular.
- Mid-Range Lights ($15–$30): Worth repairing for battery or minor wiring issues.
- Premium Lights ($30+): Invest in repairs due to durable components like replaceable panels.
When replacing, choose lights with:
- IP65/IP67 for weatherproof solar lights.
- Li-ion batteries for longevity.
- Monocrystalline panels for better solar panel efficiency.
Unique Insights from User Experiences
Web searches and Bitpott discussions reveal practical fixes:
- Battery Swaps: A user in Texas revived 10 budget lights by replacing NiMH batteries with higher-capacity versions (1000mAh), costing less than new lights.
- Panel Cleaning: A UK gardener fixed dim solar lights by cleaning panels with vinegar, restoring 90% of functionality.
- Relocation: A Canadian user resolved solar light not turning on by moving lights from a shaded patio to an open lawn, improving sunlight exposure.
Conclusion
When solar garden lights stop working, a systematic approach to solar light troubleshooting can restore functionality, saving money and reducing waste. By cleaning panels, replacing batteries, checking sensors, and addressing environmental factors, most issues—like dim solar lights or solar light not working—can be fixed. Regular maintenance, such as cleaning for solar panel efficiency and using weatherproof solar lights, prevents future failures. For budget models, replacement may be more practical, while premium lights justify repair efforts. With these steps, homeowners can keep their gardens illuminated sustainably, leveraging sunlight into electricity for years of reliable performance.
-4-2-450x231.webp)


Leave a Reply