
Why Solar Lights Charge but Don’t Shine at Night: Full Fix Guide
One of the most frequent issues users report with solar lights is that they charge perfectly during the day but fail to illuminate at night. This problem might seem puzzling, especially when the light appears to function normally under sunlight. However, several underlying factors could explain this. Understanding these causes helps you maintain your solar lighting system effectively and extend its lifespan.

1. The Light Sensor Might Be Blocked or Faulty
Most solar lights rely on a light control system, also known as a photocell or dusk-to-dawn sensor. This component detects changes in ambient light and determines when to turn the light on or off.
Possible issues include:
- Blocked sensor: Dust, spider webs, or debris can cover the sensor, making it think it’s still daytime.
- Artificial light interference: If a nearby porch or streetlight shines directly on the sensor, it may never trigger nighttime mode.
- Sensor malfunction: Over time, exposure to moisture or temperature changes can reduce sensor sensitivity.
Quick fix:
- Wipe the sensor gently with a dry cloth.
- Reposition the light to avoid artificial light sources.
- If cleaning doesn’t help, consider replacing the sensor or the light head.
2. Aging or Undercharged Battery
Solar lights store energy in rechargeable batteries, typically lithium-ion or Ni-MH types. When the light doesn’t turn on at night, the battery is often to blame.
Common battery-related causes:
- Battery degradation: After 1–2 years, batteries naturally lose capacity.
- Incomplete charging: Shaded panels or cloudy days reduce charging efficiency.
- Loose connections: Corroded or poorly connected battery terminals prevent power transfer.
Solutions:
- Open the battery compartment and inspect for corrosion.
- Replace batteries every 12–18 months with manufacturer-recommended models.
- Ensure proper contact between battery and metal terminals.
Tip: Even new solar lights might ship with half-charged batteries—leave them in direct sunlight for at least 8 hours before first use.
3. Incorrect Panel Angle or Placement
Solar panels convert sunlight into electricity, and their effectiveness depends heavily on positioning.
Common setup mistakes:
- Wrong tilt angle: Panels facing away from the sun collect less energy.
- Obstructions: Trees, walls, or roofs casting shadows drastically reduce charging efficiency.
- Seasonal change: In winter months, lower sun angles require adjusting panel tilt.
Optimization checklist:
- Mount panels facing south (in the Northern Hemisphere) at an angle of 30–45 degrees.
- Clear away leaves, snow, or debris monthly.
- Relocate lights if nearby structures cause prolonged shading.
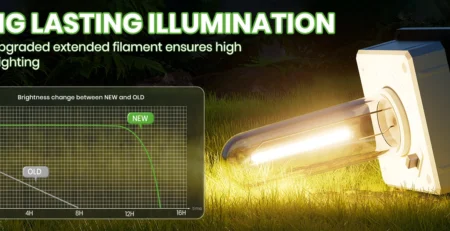
4. Bitpott Solar Light Advantages
Bitpott solar lights stand out thanks to two core design features that minimize nighttime failures:
- Independent battery compartment: Easier access for maintenance and replacement without dismantling the entire fixture.
- High-sensitivity light sensor chip: Accurately detects ambient brightness levels, even in mixed lighting conditions.
These upgrades make Bitpott lights more reliable for gardens, walkways, and fence lines. For users tired of inconsistent performance, this design approach ensures better durability and performance consistency.
5. Matching Fixes to Your Light Type
Different solar light types experience different common issues. Here’s how to troubleshoot based on category:
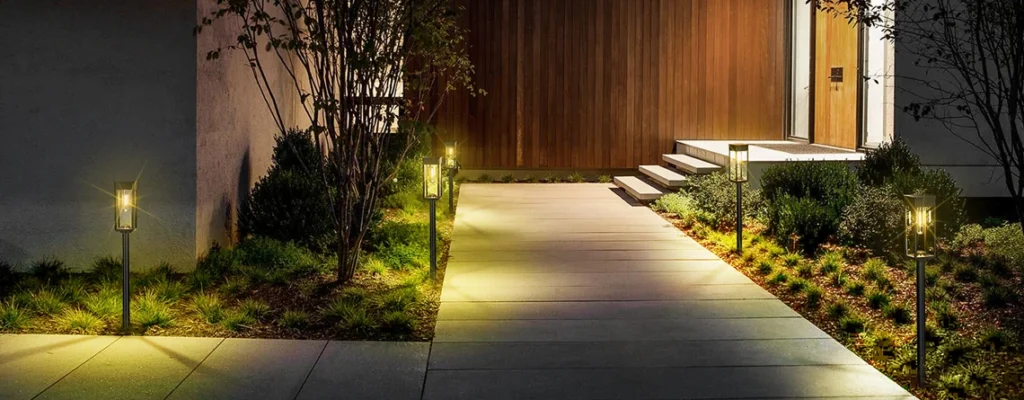
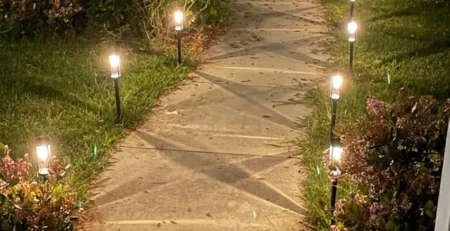
- Pathway lights:
- Often affected by ground moisture or grass shading.
- Check that the lower stake isn’t covering the sensor.
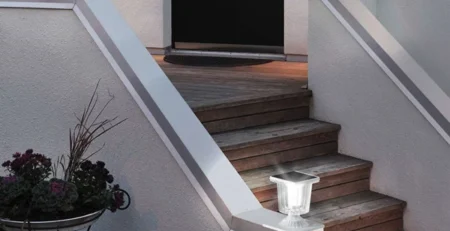
- Wall lights:
- Ensure wall-mounted panels are angled properly.
- Watch out for light reflection from nearby windows.
- Fence or post lights:
- Clean the panel regularly, as dust tends to collect horizontally.
- Confirm wiring integrity if it’s a multi-unit system.
By understanding these distinctions, you can perform faster, more targeted troubleshooting.
6. Routine Maintenance Tips
Preventive care is the simplest way to ensure your solar light stays bright night after night.
Maintenance checklist:
- Clean the panel monthly with a damp microfiber cloth.
- Inspect wiring and connectors for rust or looseness.
- Test the light manually by covering the panel completely—if it doesn’t turn on, inspect the battery and sensor.
- Store during long winters if snow or extreme cold is common.
Following this routine can extend the lifespan of your solar lighting setup by up to 30%.
7. When to Replace Instead of Repair
If your solar light remains unresponsive after thorough cleaning, new batteries, and sensor checks, the internal circuitry may have failed. In such cases, replacement might be more cost-effective.
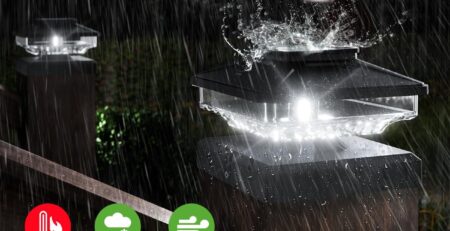
When choosing a new model, look for:
- Replaceable battery design.
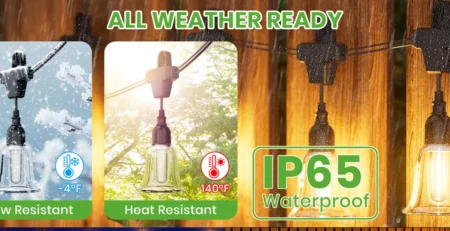
- IP65 or higher waterproof rating.
- Adjustable solar panel.
- Independent light sensor (not built into the panel).
Example: Bitpott’s upgraded outdoor solar wall lights incorporate all these features and are widely praised for long-term reliability.
Conclusion
A solar light that charges during the day but fails to illuminate at night doesn’t necessarily mean it’s broken. Most issues arise from simple causes—blocked sensors, aging batteries, or misaligned panels. With regular cleaning, smart positioning, and timely part replacements, your solar lights can continue performing effectively for years. Understanding the system from panel to battery ensures you get the most out of your investment while maintaining a beautifully lit outdoor space.
-4-450x231.jpg)


Leave a Reply