
Installing Solar Fence Lights: Easier Than You Think
Solar fence lights are a fantastic way to brighten up your outdoor space without jacking up your electric bill. They’re eco-friendly, stylish, and—best of all—most are a breeze to install. But if you’re new to this, you might be wondering: Do I need a toolbox full of gadgets or an electrician on speed dial? Spoiler: you probably don’t. Let’s dive into how solar fence lights are installed, what to watch out for, and why even beginners can handle it without breaking a sweat.
Common Ways to Mount Solar Fence Lights
The beauty of solar fence lights is that they’re designed with DIYers in mind. Manufacturers know you don’t want to spend hours wrestling with complicated setups, so they’ve come up with user-friendly installation methods. Here are the most common ways to get those lights up:
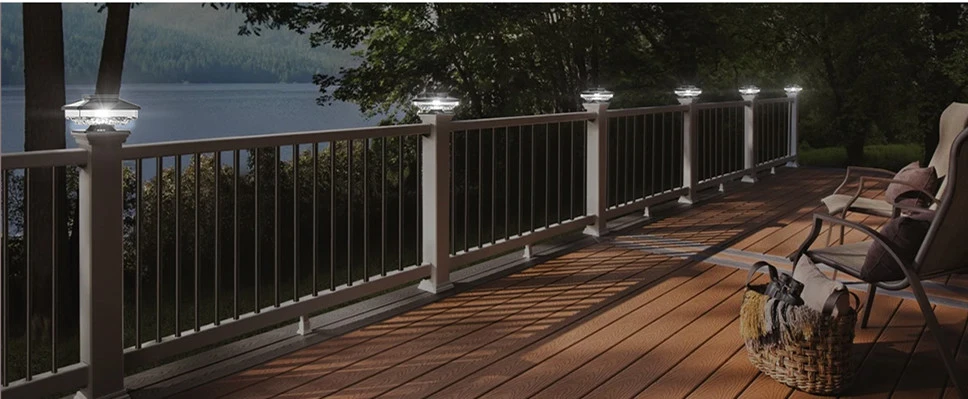
- Clip-on (snap-on) mounts: These lights come with built-in clips or brackets that snap onto your fence. Perfect for chain-link or thin wooden fences, they require zero tools—just push or click them into place.
- Screw-in mounts: For a more secure fit, some lights use screws to attach to wooden or vinyl fences. You’ll need a screwdriver or drill, but it’s straightforward. Most kits include screws and anchors.
- Adhesive mounts (no-drill): These use strong, weather-resistant adhesive pads to stick lights onto smooth surfaces like metal or glass. Great for renters or anyone who doesn’t want to drill holes.
Each method has its perks, so check your fence type and the light’s product description to pick the best fit. Brands like GIGALUMI and Brightech often label their lights as “clip-on” or “adhesive” to make your choice easier.
Key Tips for a Smooth Installation
Getting your solar fence lights up is only half the battle—making sure they stay put and work well is just as important. Here are some practical tips to nail the setup:
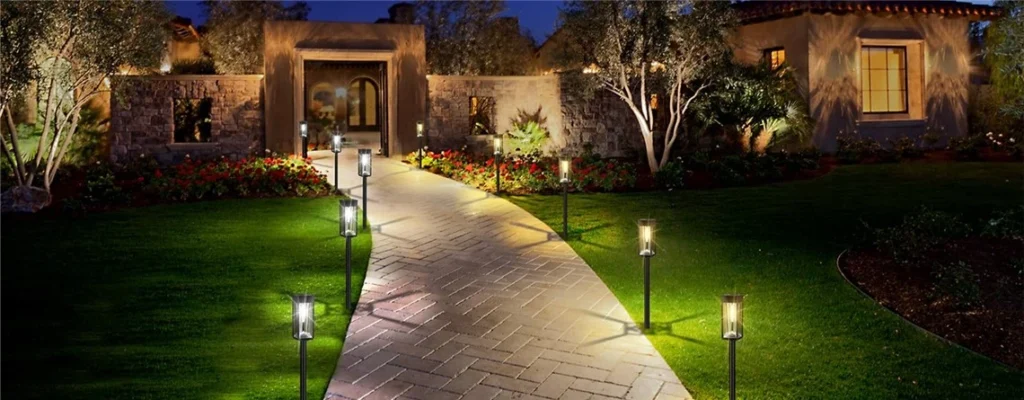
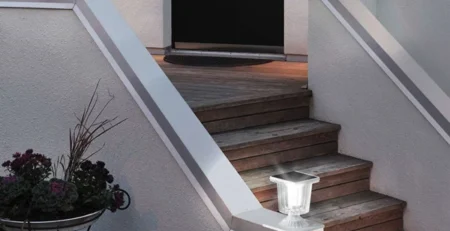
- Angle for max sunlight: Position the solar panel to catch direct sunlight for at least 6–8 hours daily. South-facing spots (in the Northern Hemisphere) are ideal for charging.
- Check direction: Some lights have adjustable heads or sensors. Point the light where you need illumination—like a pathway or seating area—and ensure motion sensors (if included) cover the right zone.
- Ensure stability: For screw-in or clip-on mounts, double-check that the light is secure. A wobbly light might fall during a storm. For adhesive mounts, clean the surface first to help the glue stick better.
- Test before committing: Turn the light on (most have a manual switch) to confirm it works before mounting. Nothing’s worse than installing a dud.
Taking a few minutes to plan your placement can save you from repositioning later. A quick walk around your fence during the day can help you spot the sunniest areas.
Do You Need Extra Wiring?
One of the biggest perks of solar fence lights is that they’re almost always wire-free. Here’s why you can skip the electrician:
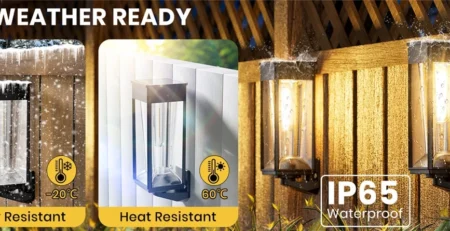
- Self-contained power: Each light has a built-in solar panel and battery. Sunlight charges the battery during the day, and the light runs off that stored energy at night.
- No external connections: Unlike traditional wired lights, solar models don’t need to tap into your home’s electrical system. This means no digging trenches or messing with circuit breakers.
- Rare exceptions: Some advanced smart lights (like those with Wi-Fi or app control) might need a hub plugged into an outlet indoors, but these are uncommon for basic fence lighting.
This wire-free design is a huge win for simplicity. Whether you’re lighting up a backyard fence or a front-yard picket, you can install these without worrying about cables or permits.
Can Beginners Handle the Installation?
If you’re not exactly a DIY pro, don’t sweat it—solar fence lights are beginner-friendly. Here’s why even first-timers can tackle this project with confidence:
- Minimal tools required: Clip-on and adhesive lights often need no tools at all. Screw-in models might call for a screwdriver or drill, but that’s about it. Most households already have these.
- Clear instructions: Reputable brands like SolarGlow or LITOM include step-by-step guides in the box or online. Many even have QR codes linking to video tutorials.
- Low risk: Since there’s no wiring or electricity involved, you don’t have to worry about safety hazards like shocks. Worst case? You might need to reposition a light if it’s not charging well.
- Quick setup: Most lights take 5–15 minutes per unit to install. Even a long fence with a dozen lights can be done in an afternoon.
If you can hang a picture frame or stick a Command hook on a wall, you’ve got the skills to install solar fence lights. The key is to read the manual, test the lights first, and take your time with placement.
Why Solar Fence Lights Are a No-Brainer
The bottom line? Installing solar fence lights is about as easy as outdoor projects get. With options like clip-on, screw-in, or adhesive mounts, you can choose what works for your fence and skill level. They don’t require wiring, so you’re free from complicated electrical work, and the process is forgiving enough for beginners to handle without stress. Whether you’re sprucing up your backyard for evening barbecues or adding security to your front fence, these lights deliver style and function without needing a pro.
By going solar, you’re also making a smart, sustainable choice—saving energy and skipping the hassle of traditional lighting. So, grab a set of solar fence lights, check your fence type, and get ready to light up your outdoor space in a single afternoon. No electrician, no fancy tools, no problem.


-6-1-450x231.webp)


Leave a Reply