
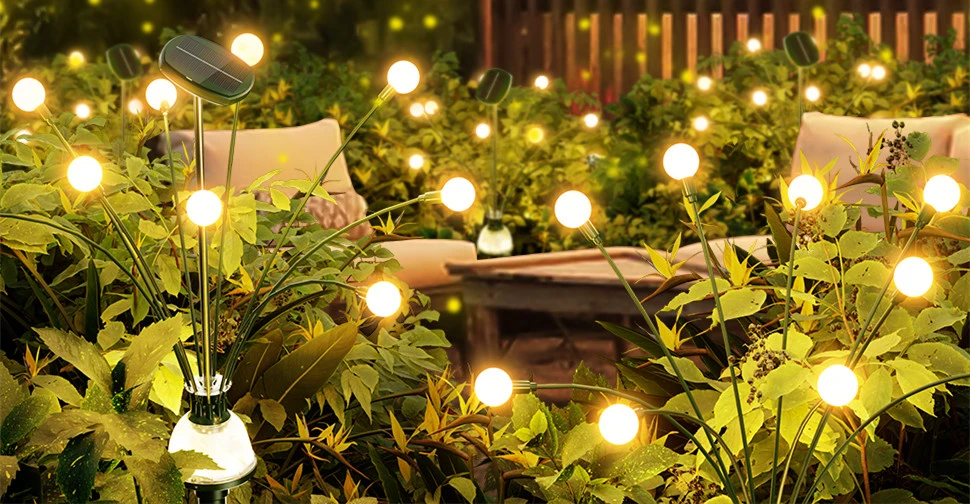
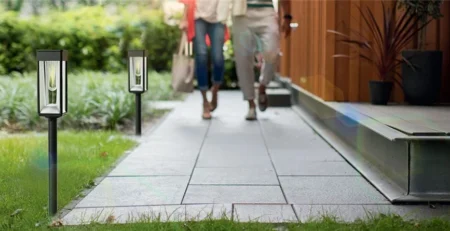
Why do my solar garden lights stop working after a few months?
Solar garden lights are a fantastic way to light up your yard or pathways without adding to your energy bill. They’re eco-friendly, easy to install, and add a cozy vibe. But it’s frustrating when they stop working after just a few months. If your solar lights are dimming or dead, don’t toss them yet. Most issues come down to a few common culprits, and many are fixable. Let’s dive into why solar garden lights fail and how to keep them glowing longer.
Battery Degradation: The Top Culprit
The battery is often the first thing to go in solar garden lights. Here’s why it matters and what happens:
- Limited Charge Cycles: Most solar lights use NiMH or lithium-ion batteries, which handle about 500–1,000 charge cycles. That’s roughly 1–3 years if used nightly.
- Performance Drop: As batteries age, they hold less charge, leading to dimmer lights or shorter runtimes. You might notice your lights fading after a few hours.
- Quality Varies: Cheap solar garden lights often come with low-grade batteries that die closer to the 1-year mark. Higher-end models tend to have better batteries that last longer.
Batteries are the heart of solar lights, but they’re not built to last forever. Replacing them can often bring your lights back to life.
Solar Panel Issues: Blocked or Dirty
The solar panel is what powers your lights, so if it’s not working right, your lights won’t either. Here’s what can go wrong:
- Dirt and Debris: Dust, pollen, or leaves can cover the solar panel, blocking sunlight and reducing the charge. This is a common issue in dusty or wooded areas.
- Shade Problems: If trees, shrubs, or new structures cast shade on your lights, the panel won’t get enough sun to charge fully. Even partial shade can make a big difference.
- Panel Wear: Over time, UV exposure can cloud or crack the panel, lowering its efficiency. Cheaper panels are especially prone to this.
A quick wipe-down or repositioning can often fix these issues, making it one of the easiest problems to solve.
Water Damage: When Weather Wins
Solar garden lights are built for the outdoors, but they’re not invincible. Water damage is a sneaky reason they fail:
- Poor Sealing: Budget solar lights might skimp on waterproofing. If water seeps into the battery compartment or wiring, corrosion can kill the light.
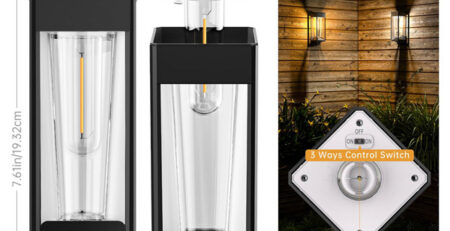
- IP Ratings Matter: Look for lights with an IP65 rating or higher for better water resistance. Lower ratings might not handle heavy rain or sprinklers.
- Winter Woes: Freezing temperatures can crack casings or damage batteries, especially if water gets inside and freezes.
If your lights are in a wet or humid area, check for rust or moisture buildup. Choosing higher-quality, weather-resistant models helps prevent this.
-1-1-1024x400.webp)
Material Quality: You Get What You Pay For
Not all solar garden lights are created equal. Poor-quality materials can lead to early failure:
- Cheap Plastics: Low-cost lights often use thin plastic that cracks or fades under UV exposure. This can expose internal components to the elements.
- Weak Wiring: Thin or poorly insulated wires can fray or corrode, especially in harsh climates. This breaks the circuit and stops the light from working.
- Subpar LEDs: While LEDs are durable, super-cheap ones might burn out faster or flicker, especially in low-quality solar garden lights.
Investing in reputable brands with solid reviews can save you from replacing lights every season. Check for durable materials like stainless steel or UV-resistant plastic.
Maintenance Tips: Keep Your Lights Shining
The good news? You can often revive or prevent failing solar garden lights with a little TLC. Here’s how:
- Clean the Solar Panel: Use a damp cloth to gently wipe off dirt or debris every couple of months. A clean panel charges better.
- Replace Batteries: If the lights are dim or don’t last long, swap out the battery. Use high-quality NiMH or lithium-ion batteries with the same specs (check the mAh rating).
- Reposition for Sunlight: Move lights to spots with full sun exposure, avoiding shade from plants or structures. Six to eight hours of direct sunlight is ideal.
- Check for Water Damage: Inspect for corrosion or moisture in the battery compartment. Dry it out and consider adding silicone sealant for extra protection.
- Store in Winter: If you live in a cold or rainy climate, store lights indoors during off-seasons to protect batteries and electronics.
Regular maintenance can double the lifespan of your lights, saving you money and hassle.
Conclusion: Prevention Is Key
When your solar garden lights stop working after a few months, it’s usually due to battery degradation, dirty or shaded panels, water damage, or cheap materials. The good news is most of these issues are preventable or fixable. Regularly clean the solar panels, replace batteries when they start to fade, and choose lights with solid waterproofing and durable materials. By picking quality solar garden lights and giving them a little care, you can keep your yard glowing for years. Don’t let a dim light ruin your setup—take these steps, and you’ll get way more than a few months out of your investment.


Leave a Reply