
Getting the Most Out of Your Solar Lighting: Installation Tips
Solar lighting is a game-changer for eco-friendly illumination, but where and how you install these fixtures makes a huge difference in their illumination effectiveness. Picking the right installation location and tweaking the angle for maximizing performance can turn a decent setup into a stellar one. Want to ensure your solar lights deliver the best lighting experience? Here’s how to nail the proper installation and adjustment for maximum sunlight exposure and lighting efficacy.
Choosing the Best Location for Solar Lighting
The installation location is the foundation of maximizing performance for your solar lights. A poorly chosen spot can lead to dim lights or short runtimes, so let’s break down what makes a location ideal.
- Prioritize sunlight exposure: Pick a spot with at least 6-8 hours of direct sunlight daily. South-facing areas (in the Northern Hemisphere) are usually your best bet for consistent sunlight exposure.
- Avoid high-traffic zones: Place lights where they won’t be knocked over by people, pets, or equipment. Pathways or garden edges are great, but ensure they’re secure.
- Consider surroundings: Check for nearby obstructions: trees, buildings that could cast shadows. Even partial shade can cut charging efficiency significantly.
- Pro tip: Walk your property during peak sunlight hours (10 AM–2 PM) to spot areas with uninterrupted light. This ensures optimal placement for your lights.
Choosing the best location for solar lighting sets the stage for reliable performance and long-lasting illumination.
Optimizing Panel Tilt Angle for Charging Efficiency
The panel tilt angle directly impacts charging efficiency. If the solar panel isn’t angled to catch maximum sunlight, your lights won’t charge fully, reducing their lighting efficacy. So, how do you find the sweet spot?
- Why angle matters: Solar panels generate the most energy when perpendicular to the sun’s rays. A suboptimal angle can reduce energy capture by 10-25%.
- General rule for tilt: Set the panel angle equal to your location’s latitude for year-round performance. For example, in New York (latitude ~40°), tilt the panel about 40° from horizontal.
- Seasonal adjustments: In winter, increase the angle by 10-15° to catch lower sunlight; in summer, reduce it slightly. Adjusting angle for maximum sunlight can boost charging efficiency significantly.
- Tools to help: Use a smartphone app or an angle finder to set the tilt precisely. Some solar lights have adjustable mounts, making this easier.
Fine-tuning the panel tilt angle ensures your lights soak up as much sun as possible, keeping them bright all night.
Avoiding Shading from Trees and Buildings
Shading is the enemy of solar lighting. Obstructions: trees, buildings can block sunlight, slashing charging efficiency and dimming your lights. Shading avoidance is critical for maximizing performance.
- Identify potential blockers: Before installing, check for trees, fences, or buildings that cast shadows, especially during peak sun hours. Even a few hours of shade can hurt performance.
- Plan for growth: Trees grow taller, and new branches can create future shading. Install lights with some buffer space from vegetation.
- Trim or relocate: If shading is unavoidable, trim branches or move the light to a clearer spot. For fixed structures like buildings, choose a location with an unobstructed view of the sky.
- Test it out: Place the light in a potential spot for a day or two before permanent installation to confirm it gets enough sunlight exposure.
By prioritizing shading avoidance, you’ll keep your solar panels working at peak capacity for better illumination effectiveness.
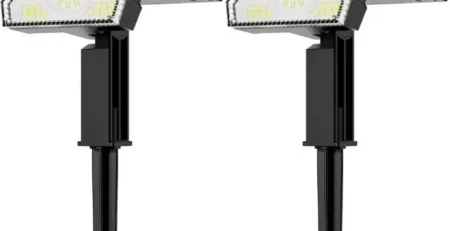
Setting the Right Installation Height
The installation height of your solar lights affects both coverage and lighting efficacy. Too low, and the light won’t spread far; too high, and it may lose intensity or be harder to maintain. Finding the optimal height is key.
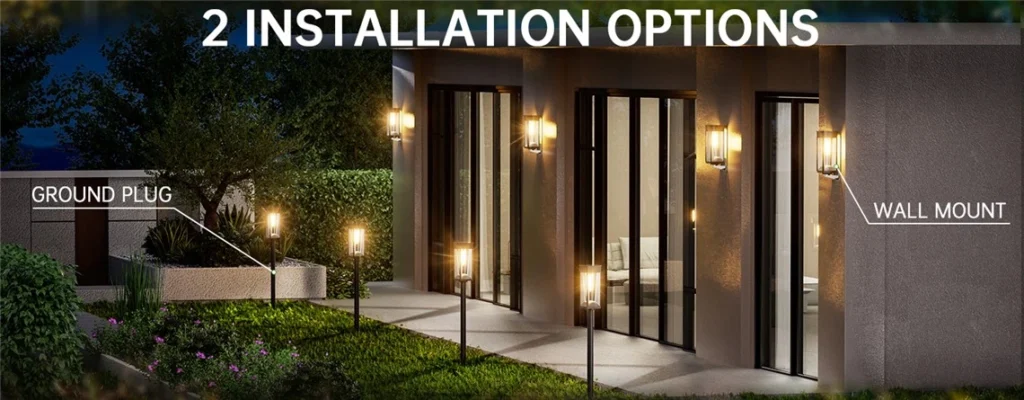
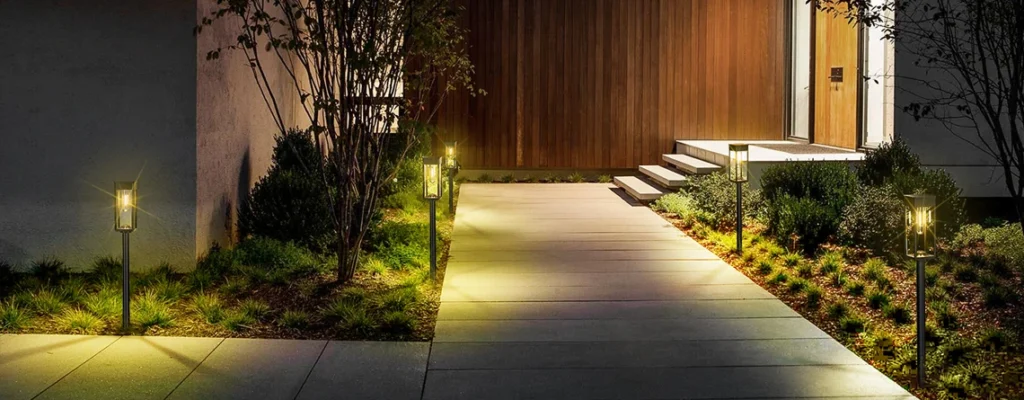
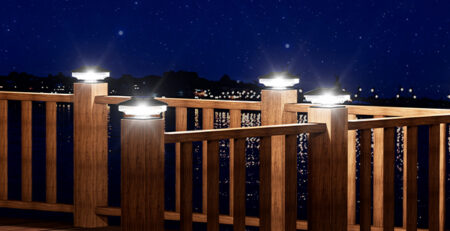
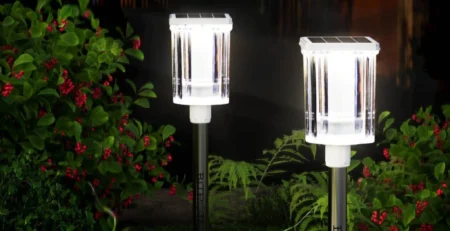
- Ground lights: For pathway or garden lights, aim for 1-2 feet off the ground. This provides good coverage for walkways without dazzling passersby.
- Wall or pole lights: Mount these 6-10 feet high, depending on the area you want to illuminate. Higher placements work well for driveways or larger yards but require sturdy fixtures.
- Balance brightness and spread: Higher installations spread light farther but may reduce intensity. Test the light at different heights to find the optimal height for your needs.
- Safety first: Ensure lights are securely mounted to avoid tipping. For taller installations, use weather-resistant brackets and check them periodically.
Getting the installation height right enhances both the aesthetic and functional impact of your solar lighting, ensuring the best lighting experience.
Why Proper Installation Matters
When it comes to solar lighting, proper installation and adjustment are the keys to unlocking maximize performance. From choosing the best location for solar lighting to fine-tuning the panel tilt angle, every step contributes to better sunlight exposure and charging efficiency. Avoiding obstructions: trees, buildings and setting the optimal height further boost lighting efficacy and coverage.
- Energy savings: Well-placed lights charge fully, reducing the need for replacements or backups.
- Enhanced safety: Properly installed lights illuminate pathways and yards effectively, reducing tripping hazards.
- Long-term reliability: Good installation minimizes wear and tear, extending the life of your lights.
By taking the time to plan your installation location, adjust angles, and avoid shading, you’re setting up your solar lights for success. A little effort upfront can transform your outdoor space with reliable, bright illumination.
In the end, it’s all about working with the sun. Pick a sunny spot, tilt those panels right, keep obstructions at bay, and set the perfect height. Your solar lights will reward you with years of hassle-free, eco-friendly glow, delivering the best lighting experience possible.


Leave a Reply